Create your own Lab
Learn how to create your own labs for the emio-labs application.
Introduction
The content of the emio-labs application can be easily adjusted or completely changed. By following this documentation you’ll be able to modify the labs and create your own content.
A lab is written as a Markdown file (with the .md extension) that should be located in the directory assets/labs/LAB_DIR_NAME.
Navigate through the directories in assets/labs. Each directory has a .md file which can be loaded and displayed by the application. The directories also usually contain a .py file, implementing a simulation scene for SOFA. This simulation will typically be launched when clicking the SOFA button ( ![]() ) in the exercise sections of the lab. These directories might also contain extra files needed for the lab, like parameters file or python scripts.
) in the exercise sections of the lab. These directories might also contain extra files needed for the lab, like parameters file or python scripts.

Compose your own Set of Labs
The content of the application is set in the file assets/labs/labsConfig.json. If you want to add or remove some labs, you can simply modify this file. You'll need to provide:
- the name of the directory containing your
.mdfile - the filename (if different than the directory name)
- a title and a description to display in the main dashboard
The order of the labs in the application will match the order in the labsConfig.json file. For example:
{
    "labs": [
        {
            "name": "introduction",
            "title": "Introduction",
            "description": "discover Emio and its software GUI"
        },
        {
            "name": "lab1",
            "filename": "lab1-models.md",
            "title": "Lab 1. Models",
            "description": "discover and analyse different models"
        },
        {
            "name": "sandbox",
            "filename": "sandbox.md",
            "title": "Sandbox",
            "description": "set up Emio exactly how you want"
        }]
}
Write your own Lab in Markdown
You can always refer to the README.md file of the assets/labs directory for the Markdown cheat sheet. It provides a quick overview of all the Markdown syntax elements and the ones developed for this application which we presents now.
Basic Syntax
These are the elements outlined in John Gruber’s original design document. All Markdown applications support these elements.
| Element | Markdown Syntax |
|---|---|
| Heading | # H1 ## H2 ### H3 |
| Bold | **bold text** |
| Italic | *italicized text* |
| Block-quote | > block-quote |
| Ordered List | 1. First item 2. Second item 3. Third item |
| Unordered List | - First item - Second item - Third item |
| Code | `code` ```languageblock code ``` |
| Horizontal Rule | --- |
| Link | [title](https://www.example.com) |
| Image |  |
Extended Syntax
These elements extend the basic syntax by adding additional features. It will only be understood by this application. We use nested fenced block principle to define our custom blocks. A block fence is a sequence of at least three consecutive :. The content of the fenced block consists of all subsequent lines, until a closing block fence with at least as many : as the opening block fence.
If you want to nest multiple fenced blocks, the parent block fence should have more : than the children. For example :
:::: parent
::: child
MY_CONTENT
::: // end of child
:::: // end of parent
Quiz
You can create a quiz with open answer or a multiple choice question. For an open answer, create a block fence with the keyword quiz. Inside the quiz fence block, create another block fence with the keyword question, followed by your question (on the same line) and the answer on the next line, inside the block fence. For example :
:::: quiz
::: question What are the advantages of using beam models, compared to volume models?
Beam models simplify calculations compared to full three-dimensional models, reducing computation time and resources needed. They are widely used in many civil and mechanical engineering applications, facilitating the analysis and design of structures such as bridges and buildings. In our case, beam models are well-suited to predict the behavior of a continuum robot, especially when the model is used for control purposes.
:::
::::
This will give the following :


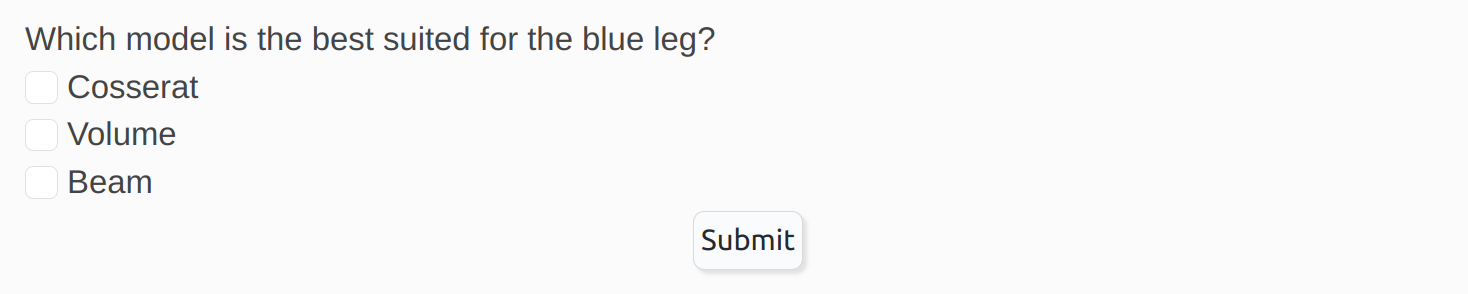
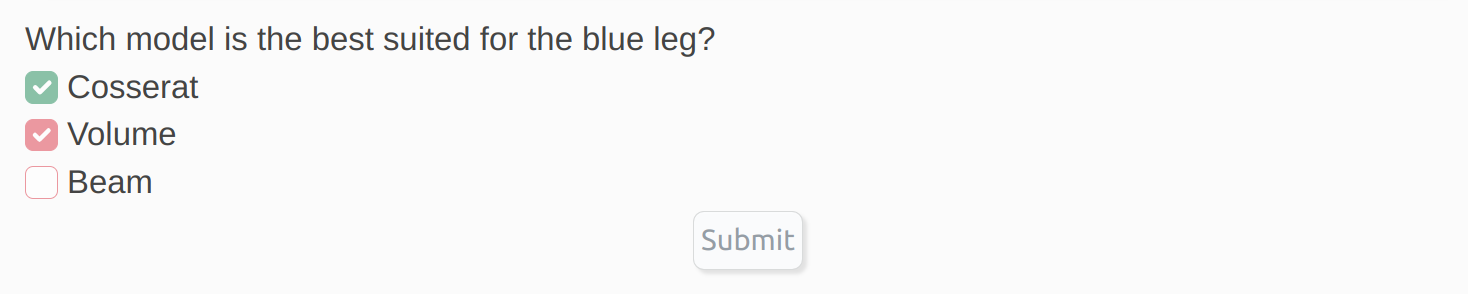
Submit button.For a question with multiple choice, create a block fence with the keyword quiz. Inside the quiz fence block, create another block fence with the keyword question, followed by your question (on the same line) and the list of possible answer the next line, inside the block fence. The good answers are set with [X] and the wrong answers with [] . For example :
:::: quiz
::: question Which model is the best suited for the blue leg?
- [X] Cosserat
- [ ] Volume
- [X] Beam
:::
::::
This will give the following :

Video
You can add videos by using the following container :
#main-video("PATH_OR_URL_TO_MY_VIDEO")
#video("PATH_OR_URL_TO_MY_VIDEO")
The main-video will move to the bottom right corner of the application when scrolling down. Only one main-video should be used in a markdown file (lab).
Highlighted block
You can highlight some text by using the following block fence with the keyword highlight :
::: highlight
MY_CONTENT
:::
Exercise block
You can highlight your exercises by using the following block fence with the keyword exercise :
::: exercise
MY_EXERCISE_CONTENT
:::
Collapsible block
Create collapsible section with the following block fence with the keyword collapse :
::: collapse MY_TITLE
MY_CONTENT
:::
Select block
Create select content with the following block fence with the keyword collapse :
:::: select MY_UNIQUE_SELECT_NAME
::: option MY_OPTION_1
::: option MY_OPTION_2
::: option MY_OPTION_3
::::
You may have as many options as you want.
Buttons
#runsofa-button("MY_SCENE.py", "MY_ARGUMENT_1", "MY_ARGUMENT_2")

#open-button("MY_FILE")
An argument can be the current value of a select block by using its unique select name, that you defined. For example:
#runsofa-button("MY_SCENE.py", "MY_UNIQUE_SELECT_NAME", "MY_ARGUMENT_2")
Icons
#icon(ICON_NAME)
We use the icon library font awesome. For example:
#icon(warning)
Share your Labs
We can help you design and share your own labs with the community. Just send us an email at this address contact@compliance-robotics.com, explaining us your project and your needs.