Getting Started with Emio
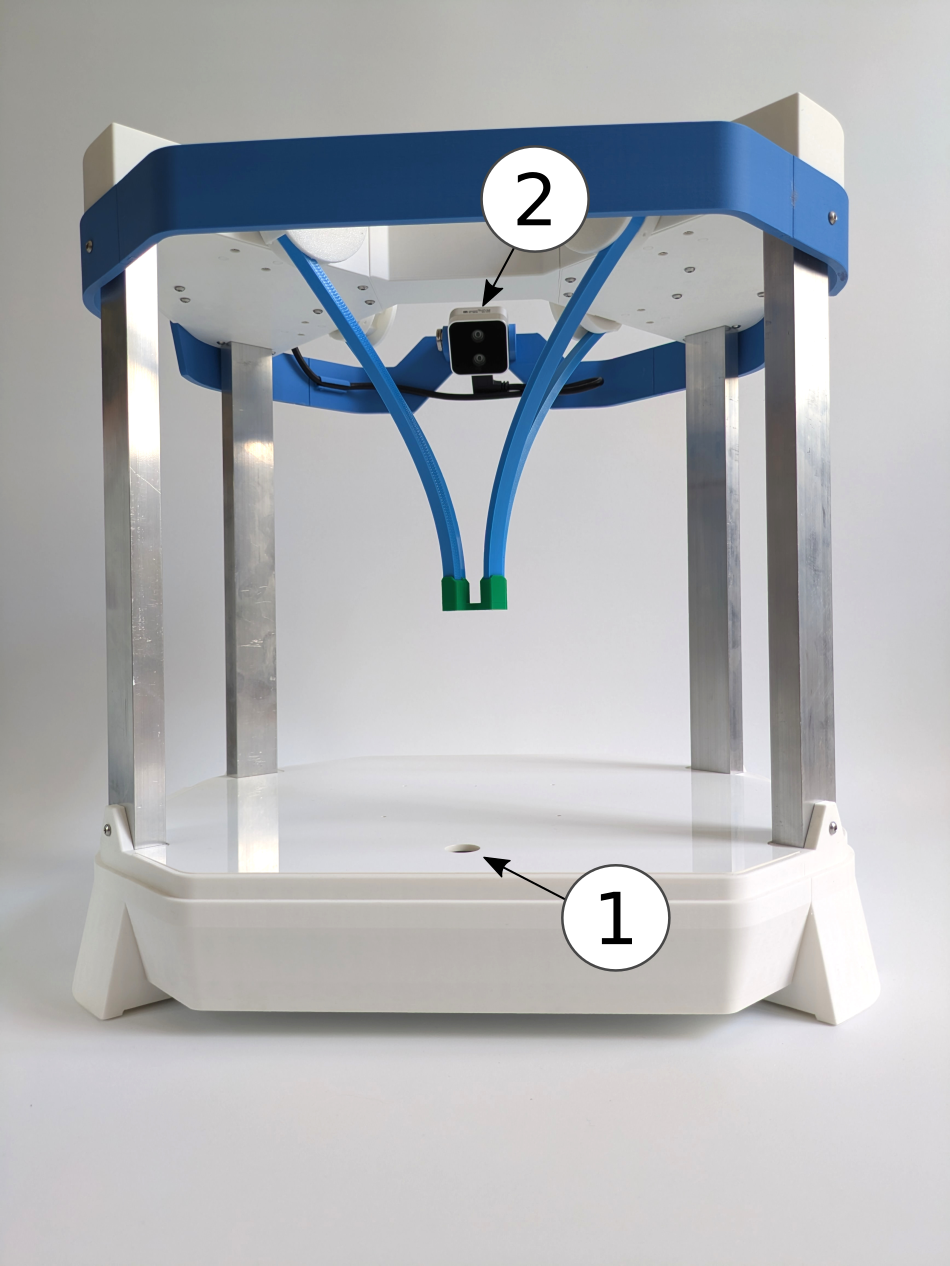
Emio is a parallel deformable robot developed by Compliance Robotics. It features a structure composed of four servo motor-actuated deformable legs connected together.
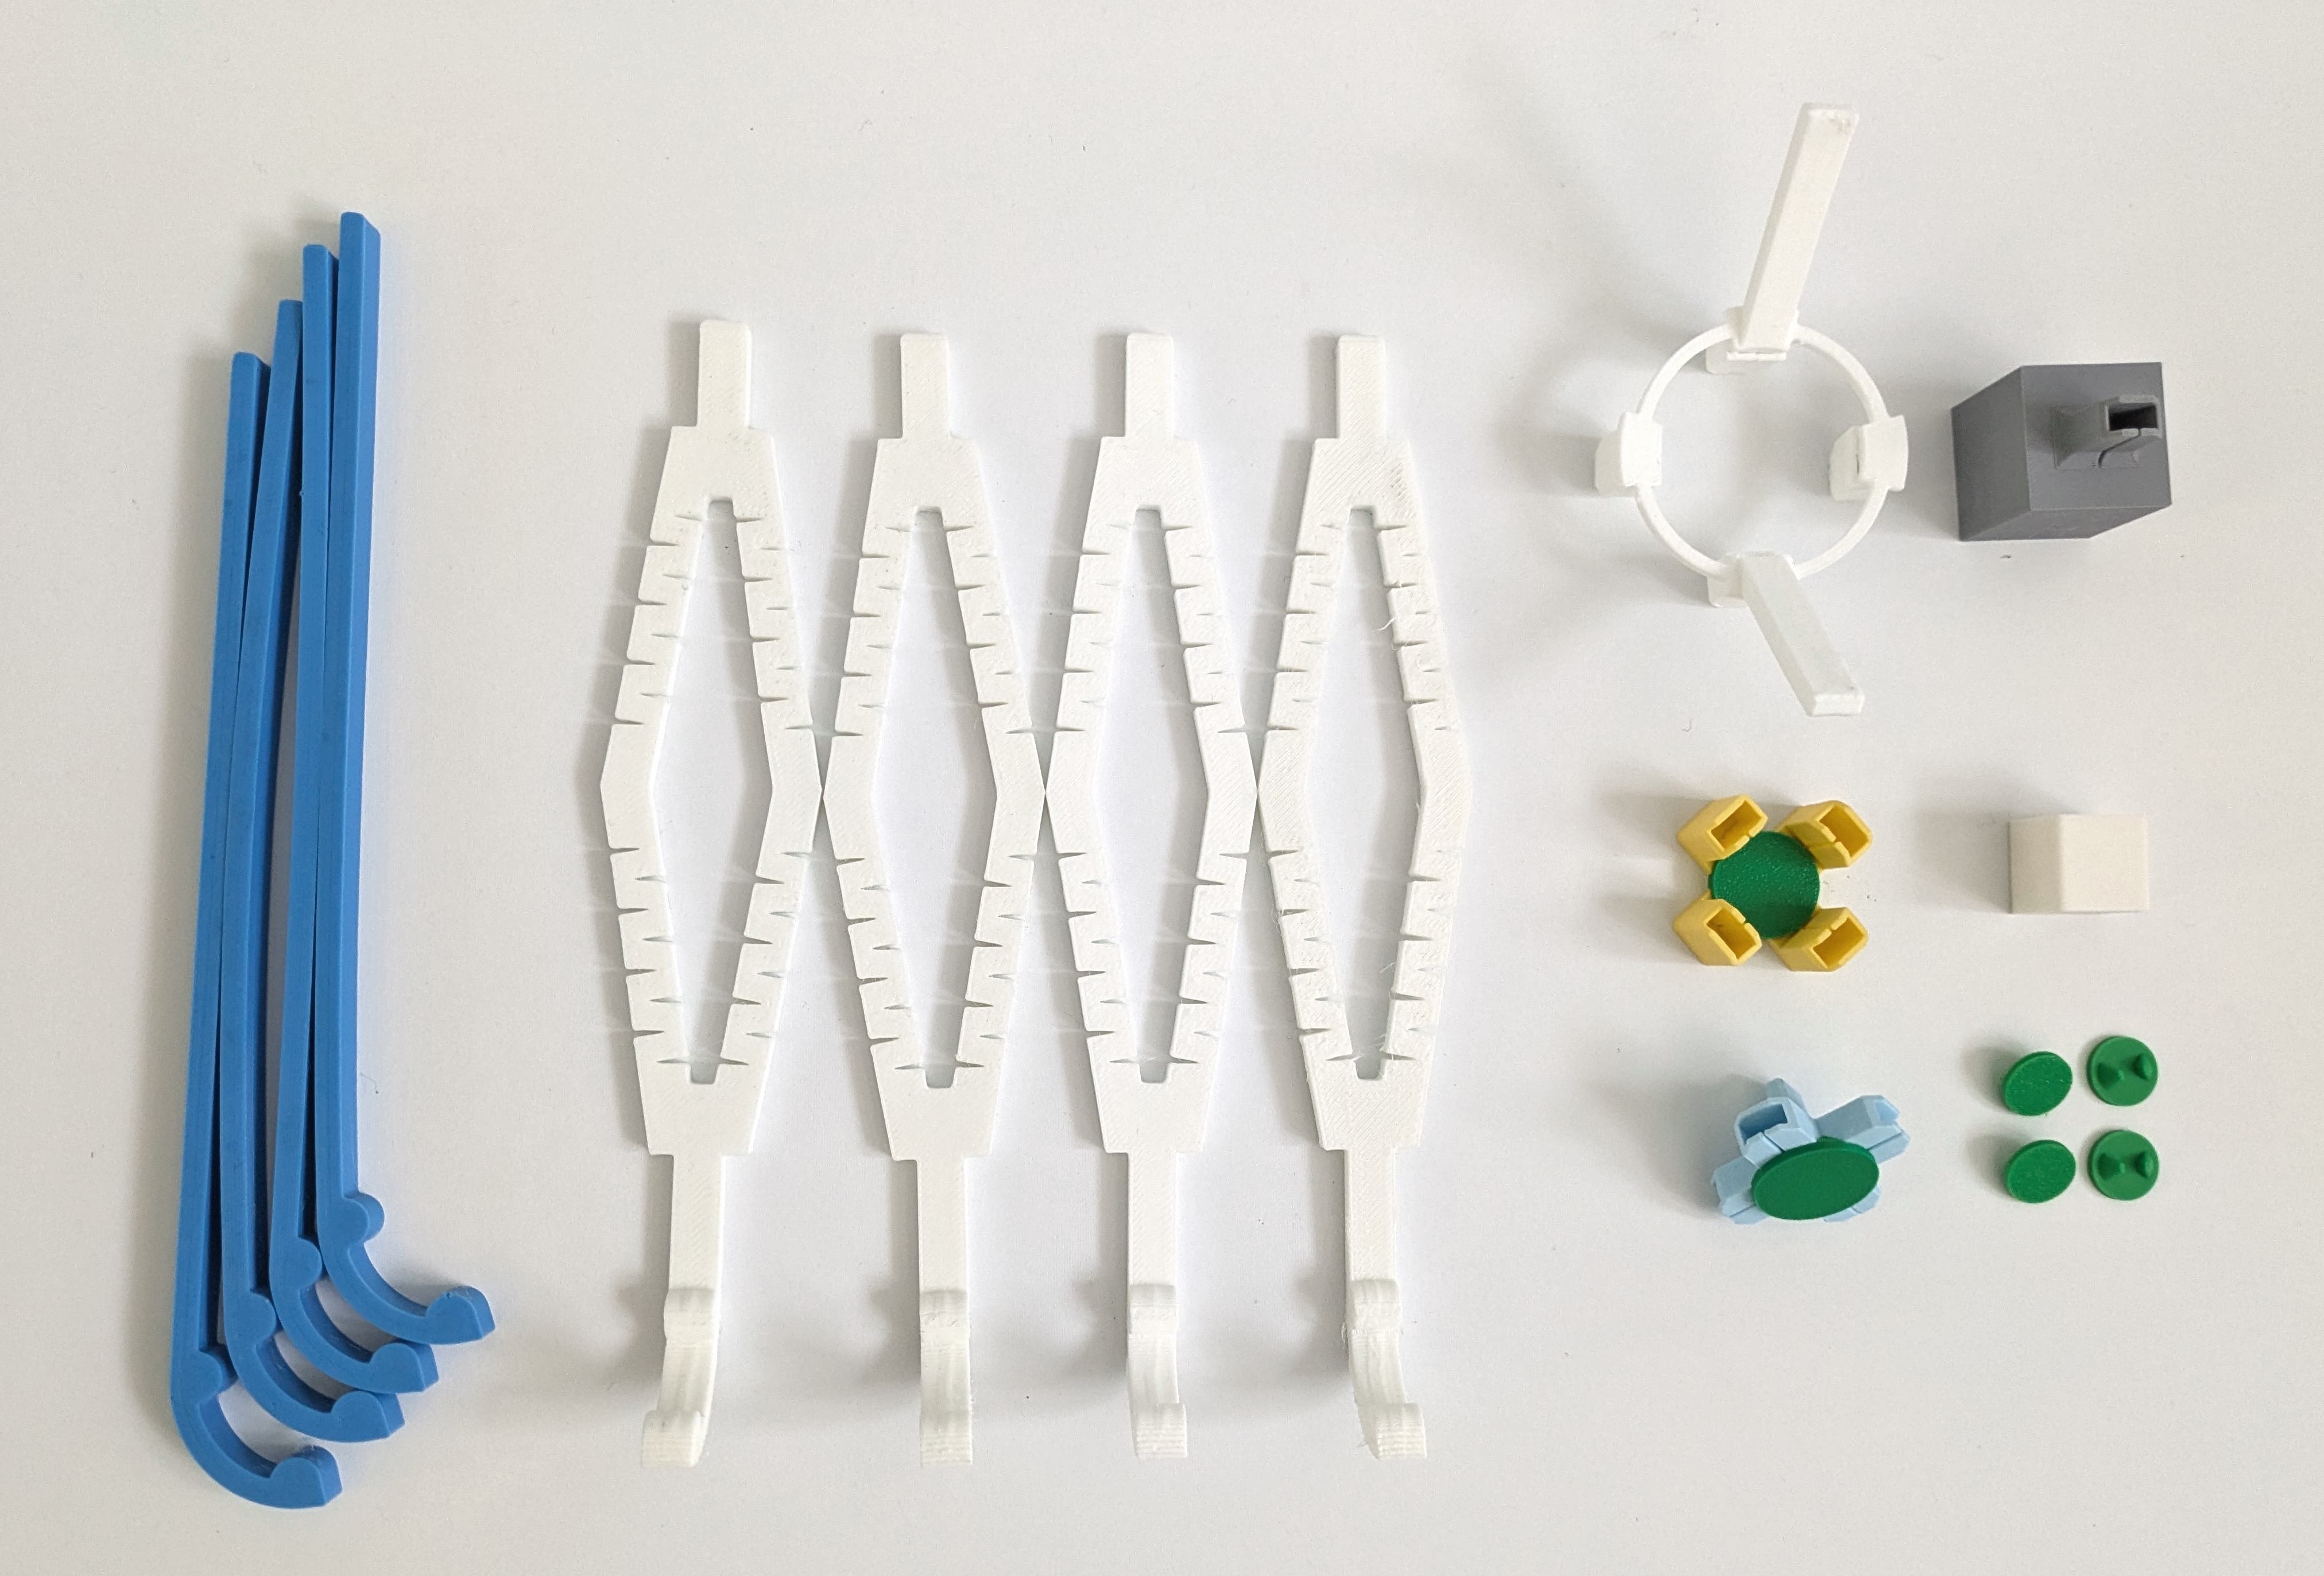
The robot comes equipped with a depth camera and a set of accessories, including multiple deformable legs and connectors, all stored in a dedicated drawer.
Emio features two distinct configurations, as shown in the images below:
- Extended Configuration: In this setup, the legs point downward, enabling it to perform tasks such as pick-and-place.
- Compact Configuration: Here, the legs are oriented upward, facilitating easier interaction with the robot.

Connecting Emio to Your Computer
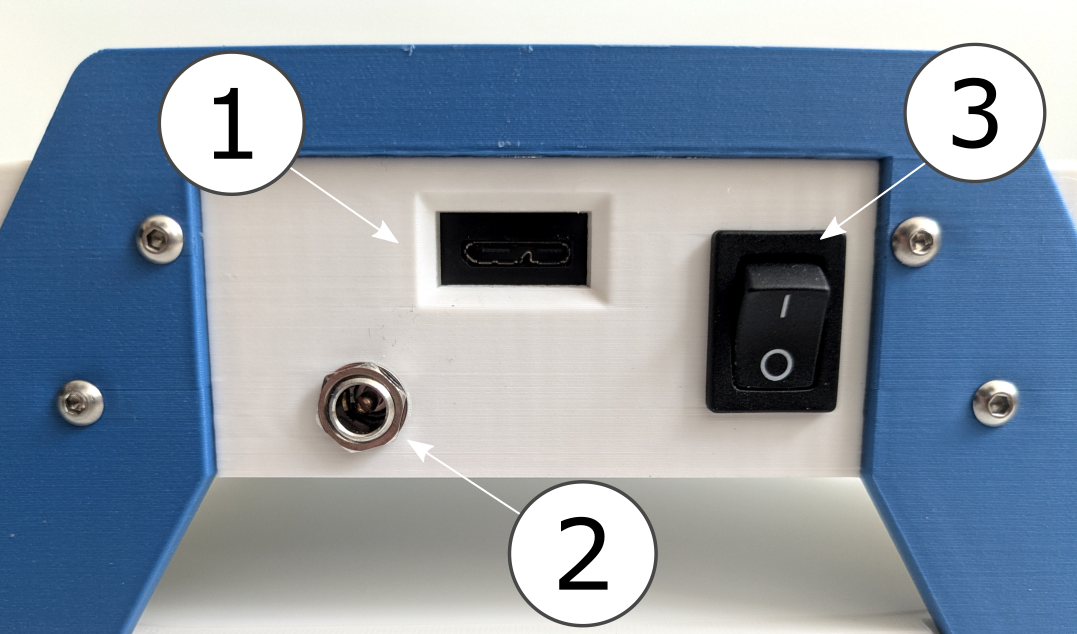
You will find a USB cable in the drawer to connect the robot to your computer. The robot also has a power supply and a switch. To connect Emio to your computer:
- Plug the USB cable into the USB port of Emio (see Figure 2),
- Connect the other end of the USB cable to your computer,
- Plug the power supply into the power port of Emio (see Figure 3),
- Turn on the switch to power the robot (see Figure 3).
Attaching Legs to Motors
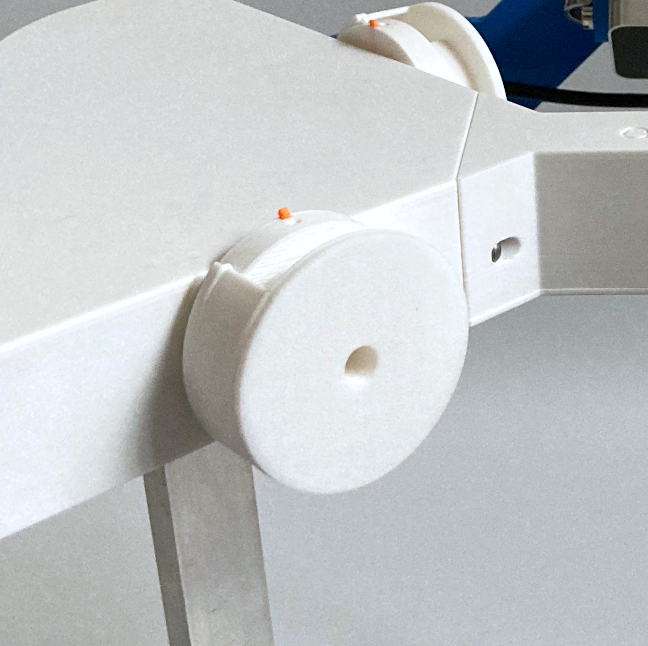
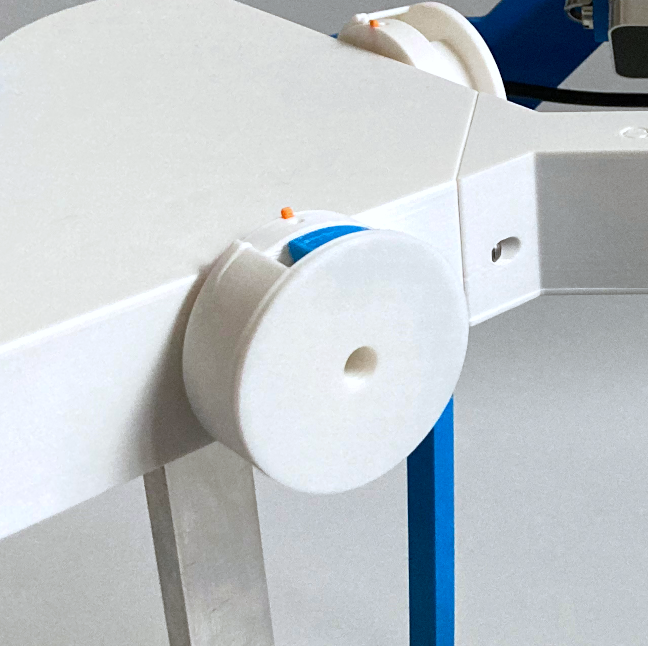
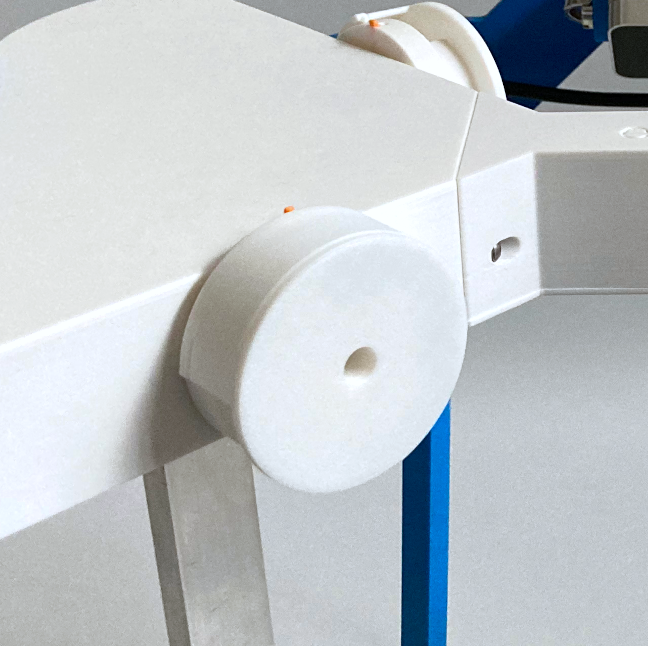
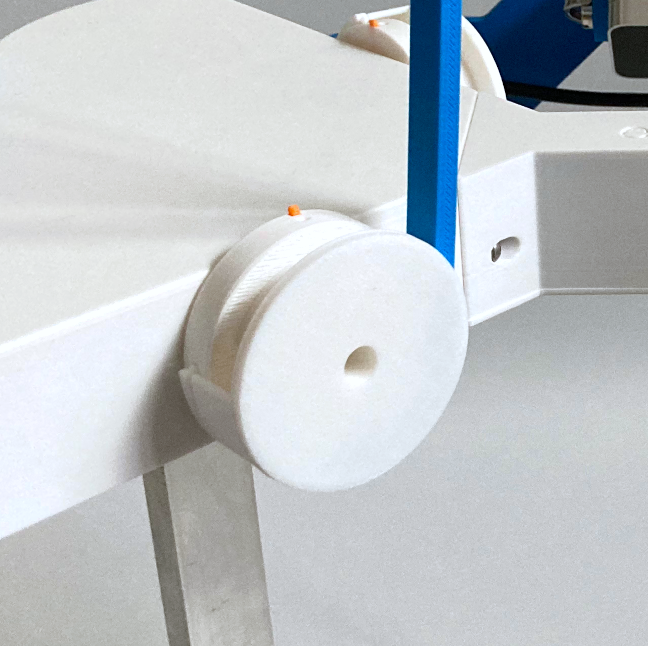
Each motor is equipped with a drum and a cap for connecting a leg.
To attach a leg to a motor:
- Find the zero position of the motor is indicated by the orange marker pointing upward,
- Simply rotate the cap until you can set the leg into the desired orientation,
- Once the leg is in place, rotate the cap again to lock it.
Throughout the lab sessions, you will be instructed to configure Emio into specific setups. Simply follow the provided instructions by clicking on Set up Emio. We use colors to refer to the legs and connectors, and numbers to identify the motors.